DIY Ugly Christmas Sweater: How to Make Your Own
The party invite says “ugly sweater required,” and you’re staring at a plain crewneck with no idea where to start. A diy ugly christmas sweater doesn’t need a sewing machine or a weekend of free time. Most of what makes these sweaters work is a handful of craft-store materials, a bit of planning, and knowing which shortcuts actually hold up once you’re dancing at a party instead of standing still in front of a mirror.
This guide covers what to buy, how to pick a base sweater that won’t fall apart mid-party, three project ideas sorted by time and skill, and the mistakes that turn a fun DIY project into a scratchy, lopsided mess. There’s also a section for anyone who opened this article at 6pm for a 7pm party, plus a note on when it makes more sense to skip the glue gun and grab something ready-made instead.
What is a DIY ugly Christmas sweater? It’s a plain sweater or sweatshirt decorated at home with intentionally over-the-top Christmas elements, such as tinsel, felt, ribbon, ornaments, or lights, arranged to look festively excessive rather than polished.
What Makes a Good DIY Ugly Christmas Sweater?
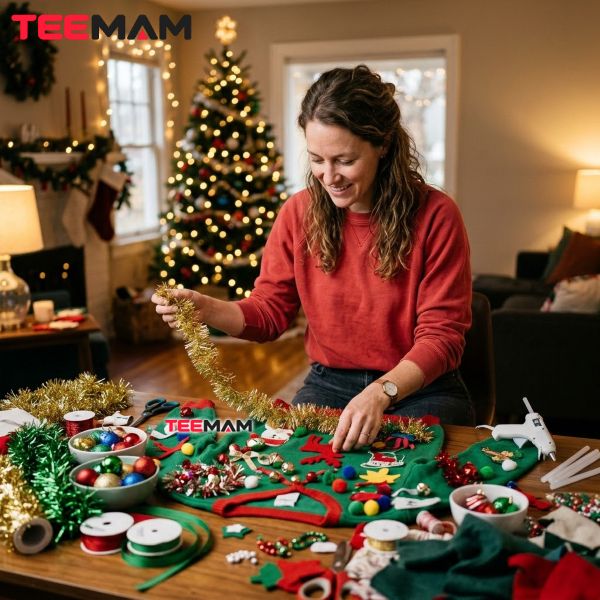
Before touching a single pom-pom, it helps to know what separates a sweater that survives a whole party from one that sheds tinsel across someone’s couch by 9pm.
Start With the Right Sweater Base
A crewneck sweatshirt or knit sweater gives you a relatively flat surface for attaching decorations without making the project harder than it needs to be. A few things worth checking before you buy one:
- Pick a fabric with some weight to it. Thin, jersey-knit tees sag under glue and tinsel.
- Choose a base color that matches your concept. Red or green suits most classic themes; white works well for a snow or polar-bear design.
- Check the stretch at the neckline and cuffs, since a little give makes the sweater easier to sit and move in.
- Avoid anything paper-thin if you’re planning heavier decorations, like felt shapes or a string of lights.
Plan the Design Before You Glue Anything
Lay the sweater flat and arrange every piece of tinsel, felt, and ribbon before any glue comes out. Figure out where the visual center of the design sits, usually the chest area, and build outward from there. Many of the most recognizable ugly-sweater looks lean on symbols that have been part of the holiday for generations, like a Christmas tree, a snowflake, Santa, or a reindeer. If you want a bit more context before picking one, the history behind Christmas symbols is a useful starting point. Leave the collar, cuffs, and side seams mostly clear, since decorations glued too close to those spots tend to dig in or catch on things once you’re actually moving around.
What You Need to Make a DIY Ugly Christmas Sweater
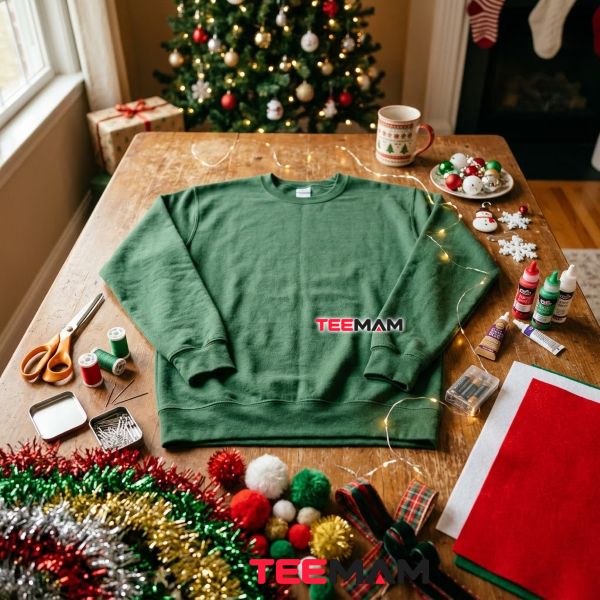
Making a diy ugly christmas sweater doesn’t require a huge craft supply haul. Most of what you need is available at a craft store or already sitting in a drawer somewhere.
Basic materials:
- Plain crewneck sweater or sweatshirt
- Tinsel garland
- Pom-poms
- Felt sheets
- Ribbon
- Mini ornaments
- Fabric paint
- Fabric glue and a hot glue gun
- Sewing needle and thread
- Safety pins
- Battery-operated LED lights
- Scissors
- Cardboard or scrap paper for planning the layout
Choose Materials by Time and Skill
| Project style | Time | Skill | Best materials |
|---|---|---|---|
| Quick | 10-15 min | Easy | Tinsel, ribbon, safety pins |
| Creative | 30-45 min | Medium | Felt, mini ornaments, fabric glue |
| Showpiece | 60+ min | Advanced | LED lights, sewn details, layered decorations |
If none of these sound quite right, it’s worth browsing some fun Christmas sweater inspiration for more starting points before you settle on a layout.
How to Make a DIY Ugly Christmas Sweater Step by Step
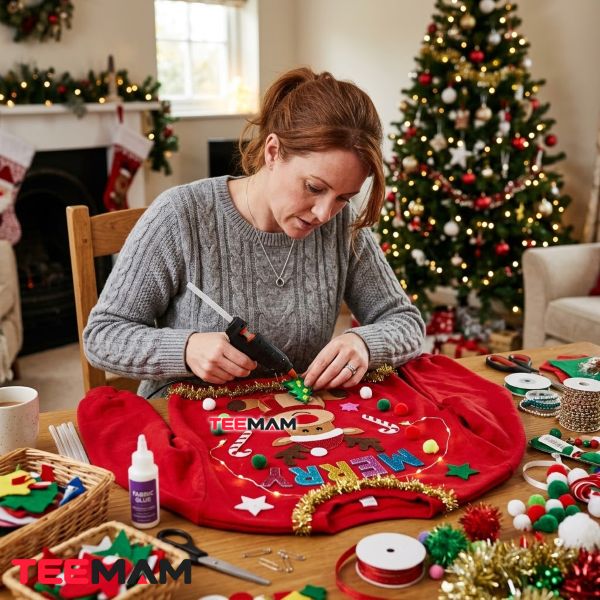
The three projects below look different, but you can build each one with the same basic process.
- Choose your sweater base. Start with a crewneck sweater or sweatshirt in a color that fits your theme.
- Pick one main Christmas theme. A tree, a snowman, a naughty-or-nice joke, whatever it is, one clear idea reads better than five competing ones.
- Lay out the decorations before attaching anything. Arrange every piece on the flat sweater and step back to check the balance.
- Attach the largest pieces first. Bigger elements anchor the design and make it easier to fill in the smaller gaps around them. Keep heavier pieces toward the center of the sweater rather than loading up the neckline or shoulders.
- Add the smaller details. Pom-poms, ribbon, and small ornaments go on last, once the main shape is secure.
- Test the sweater for movement. Put it on, raise your arms, and sit down to make sure nothing pulls, pokes, or restricts you.
- Make final adjustments before the party. Reinforce any loose spots and trim stray threads or tinsel while you still have time.
3 DIY Ugly Christmas Sweater Ideas for Different Skill Levels

These three versions of a diy ugly christmas sweater cover the range from a last-minute save to a genuine party showpiece.
1. The Tinsel Takeover: A 10-Minute Sweater
Difficulty: Easy | Time: 10-15 minutes
Materials: tinsel, ribbon, pom-poms, safety pins or a fabric-compatible adhesive
Best for: a last-minute party or a first-time DIY project.
Steps:
- Lay the sweater flat on a table or the floor.
- Arrange tinsel into a loose tree or wreath shape across the chest.
- Secure the main sections with pins or a light layer of glue.
- Add pom-poms or ribbon as accents around the edges.
- Try the sweater on and check that nothing restricts your arms.
If you’re borrowing the sweater or plan to reuse it next year, pins work better than glue since the decorations can come off cleanly afterward. For a version with a bit more storyline, a Santa-and-naughty-list theme is a reliable crowd-pleaser; you can read up on the naughty or nice tradition before building it into a design.
2. The Walking Snow Globe: A 30-Minute Project
Difficulty: Medium | Time: 30-45 minutes
Materials: white felt, cotton or faux snow, mini figures, ribbon, a fabric-compatible adhesive, and a flat felt dome shape rather than a rigid plastic one
Best for: someone with a little more time who wants a design with real visual detail.
Steps:
- Sketch the rough shape of a snow globe on paper first.
- Cut and glue the felt background onto the sweater.
- Layer on the faux snow for texture.
- Attach small figures and ribbon accents.
- Reinforce any spot where multiple layers stack up, since that’s where weight concentrates.
A rigid plastic dome can look more like a real snow globe, but it adds bulk against the chest and can make the sweater harder to wear and clean. A flat felt frame gives you a similar visual effect without adding a hard piece to the front.
3. The Light-Up Reindeer: A One-Hour Showpiece
Difficulty: Advanced | Time: About 60 minutes
Materials: felt, battery-operated LED lights, pom-poms, ribbon, a fabric-compatible adhesive, lightweight decorative pieces
Best for: an ugly sweater contest or anyone who wants their outfit to be the one people remember.
Steps:
- Cut the reindeer outline from felt and position it on the sweater.
- Glue or stitch the main felt pieces in place.
- Route the light strand around the design and secure it at several points so the wire doesn’t hang loosely or interfere with movement.
- Position the battery pack somewhere you can reach it, such as a side pocket or a felt flap.
- Add pom-poms for a nose or finishing details.
- Test the lights and move your arms around before wearing the sweater out.
If you’d rather build a different character than a reindeer, an elf design is another popular option for a lit-up sweater; learn about the Elf tradition if you want the backstory before sketching one out. Whichever character you choose, use a battery-operated light set made for decorative or wearable use rather than repurposing household string lights, and inspect the strand before wearing it. Before using any set, follow the same basic checks recommended in the Consumer Product Safety Commission’s holiday light safety guidance: look for broken or cracked sockets, frayed or bare wires, and loose connections, and retire any set that shows them. Keep the battery pack accessible so it can be removed before the sweater goes near a washing machine.
Which Decorations Pair With Which Attachment Method
Not every decoration should be attached the same way. When making a diy ugly christmas sweater, matching the decoration’s weight to the right attachment method can be the difference between a sweater that survives the party and one that starts shedding pieces halfway through the night.
| Decoration | Typical weight | Attachment that holds up best |
|---|---|---|
| Tinsel | Very light | Safety pins or a light layer of fabric glue |
| Ribbon and bows | Very light | Safety pins or hand stitching |
| Felt shapes | Light | Fabric glue, or stitching for reuse |
| Pom-poms | Light to medium | Stitching or a reinforced glue spot |
| Lightweight ornaments | Light to medium | Reinforced attachment |
| LED lights | Light, but bulky | Secured routing along seams, with a removable battery pack |
Glue, Pins, or Sewing: A Quick Comparison
| Method | Best for | Main advantage | Main limitation |
|---|---|---|---|
| Safety pins | Temporary decorations | Easy to remove or reposition | Can shift during movement |
| Fabric glue | Lightweight felt or fabric pieces | Flexible finish when the adhesive suits the fabric | Needs drying time before wear |
| Hot glue | Quick, rigid accents | Fast to apply | Can leave stiff, raised spots against the skin |
| Sewing | Anything meant to survive repeated wear | Good durability for repeated wear | Takes the longest |
Before using any adhesive, check the label to confirm it’s rated for the fabric you’re working with; not every glue that says “fabric glue” performs the same way on knit versus felt.
Common DIY Sweater Mistakes to Avoid
Most diy ugly christmas sweaters that fall apart or become uncomfortable by the second hour share a few of the same problems.
Using too many heavy decorations. Extra weight pulls at the fabric and puts strain on the shoulder seams and neckline, which is where a stretched-out sweater shows it first.
Covering the sleeves or armpits. Decorations placed there are especially easy to regret, since they tend to restrict movement, catch on chairs and doorframes, and get uncomfortable fast whenever you reach for a drink.
Gluing before planning. Skipping the layout step makes crooked designs, uneven spacing, and glue mistakes much harder to fix once the adhesive sets.
Forgetting the battery pack. For any light-up design, plan its placement early, keep it somewhere accessible, and remember to remove it before the sweater goes near water.
Making it “ugly” without making it wearable. The best ugly sweaters go all in on the tacky, over-the-top look while staying comfortable enough to keep on for a few hours. A sweater that photographs well but can’t be sat in has missed the point.
How to Make a Last-Minute Ugly Christmas Sweater
Sometimes there isn’t time for felt shapes or LED wiring, and that’s fine. A quick, easy diy ugly christmas sweater still gets the job done.
The 10-minute version: grab a plain sweatshirt, a length of tinsel, some ribbon, a few bows, and safety pins. Pin everything into a loose cluster on the chest and you’re done.
The no-craft-skills version: pick one big visual idea instead of five small ones. A single oversized bow, one large felt snowflake, or a cluster of ornaments in the center can look deliberate even without any sewing.
The work-party version: skip anything oversized, sharp, or hard, and keep decorations light enough that sitting through meetings doesn’t crush them. The goal is funny without becoming distracting, so keep decorations smaller and flatter than you would for a party-focused sweater.
Want the Ugly Sweater Look Without the DIY Mess?

DIY is fun until the party is tomorrow and your living room still has tinsel stuck in the carpet. At TeeMam, we focus on holiday apparel for festive occasions, so a ready-to-wear printed design can make sense when the goal is getting dressed for the party rather than spending the evening crafting. It can give you the same loud, unmistakably Christmas-themed feel, minus the decorating. If that sounds more like your evening, it’s worth taking a moment to explore festive Christmas apparel built for the same kind of parties this guide covers.
How to Keep Your DIY Sweater Wearable After the Party
A little care afterward helps a diy ugly christmas sweater survive the closet, the next wear, and, when the materials allow it, the wash.
- Check every decoration for looseness before storing the sweater.
- Remove any detachable pieces, especially pins and ornaments, before washing.
- Follow the care label on the base garment rather than assuming.
- Never machine wash a sweater with the battery pack still attached.
- Spot-check any glued area before a full wash, since dried fabric glue or hot glue can change how that section of fabric feels or drapes.
Whether a DIY sweater can be washed at all depends on the base garment, the attachment method, and the decorations involved, so a quick check beats assuming either way.
Questions People Ask Before Making a DIY Christmas Sweater
How long does it take to make a DIY ugly Christmas sweater? A quick version takes about 10-15 minutes, a medium-effort design runs 30-45 minutes, and a detailed showpiece with lights or sewn elements usually takes around an hour or more.
What is the easiest way to make an ugly Christmas sweater? Start with a plain sweatshirt and add tinsel, ribbon, and a few bows using safety pins. It requires no sewing and only a few basic supplies.
Can you wash a homemade Christmas sweater? It depends on the materials and attachment method. Check the care label, remove detachable decorations and batteries first, and know that glued sections may not hold up as well in a full wash cycle.
What makes a Christmas sweater look intentionally ugly? Exaggerated decorations, clashing festive colors, oversized motifs, and playful, mismatched combinations are the classic markers. The look works because it’s deliberately over the top, not because anything is damaged.
Can I make an ugly Christmas sweater for a work party? Yes. Keep decorations lightweight, skip anything sharp or bulky, and aim for a design that’s funny without becoming uncomfortable or distracting over several hours at the office.
Make It Fun, Wear It Comfortably
A good diy ugly christmas sweater comes down to a few decisions: the right base, a realistic time budget, an attachment method that matches the decoration’s weight, and a design that doesn’t trade comfort for laughs. Try the sweater on before the party starts, not after the first hour of standing around. DIY is worth it when there’s time to enjoy the process. A ready-made option makes more sense when there isn’t. Either way, the sweater should be the thing people remember for making them laugh, not the thing that had you scratching your neck all night.

Hi, I’m Olivia Bennett, a fashion and lifestyle writer at TeeMam with 6 years of experience creating content about fashion, outfits, and lifestyle trends. I enjoy sharing practical style ideas for everyday wear, game days, holidays, and special occasions, helping readers find looks that feel comfortable, fun, and uniquely their own.